
When most people start creating online courses, they usually start by looking for ways to create their first course for as little investment as possible.
Obviosuly, if you’ve already got a super-successful business and looking to branch out to an established audiences with courses, you can take the risk of putting some up-front investment in. Otherwise, if you’re just starting out, you need to have a lean and inexpensive business model.
In this article, we’re going to look at how to create an online course for free.
Can You Create an Online Course For Free?
If you’re looking for ways to create your first course for free, you might not find many resources out ther – I know I couldn’t. All I found were articles by course creation platforms trying to sell me their services, which is not what I was looking for.
But, it is possible to create an online course for free. How? Well, there’s multiple ways. You can either use marketplaces such as Udemy or Skillshare or, with a course creation platform that has a free plan.
In this article, will show you the exact steps you need to take to do it easily, no matter which option you pick.
Materials Needed to Create an Online Course for Free
Here’s what you’ll need to get you started. These are not really materials, but a few “things” to keep in mind before you start.
- A course idea. It’s not necessary to have an idea to start with, but it can save you hours of thinking and wrestling with your own mind if you have a clear idea, to begin with. You can read our aritcle of 99 different course ideas to get your creative juices flowing.
- Some basic knowledge about course creation. You don’t need to be an expert yet, and you can definitely learn as you do. But having some basic knowledge about how courses work and how they’re constructed is certainly helpful.
- A laptop or a PC. Obviously, you’ll need to have a laptop or a computer where you’ll make the course happen.
- Time. Yes, you’ll need a lot of time. I suggest that you don’t rush it and really put effort into it (if you want it to be profitable, at least).
So once you’ve gathered everything you need (which is not a lot), you can get started with course creation for free. Just follow these steps for creating an online course for free.
Step 1: Select the Topic of Your Course
The first thing you’ll need to do is to come up with the topic for your course. I’ve already talked about the importance of having an idea for a course. But now it’s time to turn that idea into something tangible – a course topic.
If you’re not very specific about the topic from the start and you sort of experiment with it throughout the way, it can fizzle out and become too broad and generalistic. And that will be a waste of time for both you and the learner.
Be Specific
What you need to do instead is think about what your course is about specifically. For example, your initial idea was to create a course on digital marketing. Ok, it’s a good idea, even though there are a lot of courses on the topic already. But it’s still too broad. Think about your audience first – are they beginners, or are they advanced learners?
Let’s say they are beginners – now we have a course on Digital Marketing for Beginners. Ok, better, but still too broad.
Think about what aspect of your course is different from the rest. What is the focus of the course? Let’s say you want to focus on Facebook marketing. In that case, you could call it Facebook Marketing for Beginners. And this feels a lot better, doesn’t it?
Pick Something You are Knowledgeable About
You’re the teacher here, so you should have a decent amount of knowledge about the topic already.
You want to give the learners the impression that you’re an authority in what you’re teaching. And you also need to be one. Having enough knowledge is crucial for providing a great course.
Additional Tips for Picking a Topic
Here are some additional things to keep in mind when choosing a topic for your free online course:
- Make sure there is enough demand for your topic. This is an important thing if you really want to make a profit out of the course. A good way to find out if there’s enough demand is to use Google Trends or search course websites like Coursera or Udemy to see what’s gaining traction. You can also search Facebook and see how many groups there are on the topic.
- Find a topic where you can display your expertise. For example, a certification or a proven track record in the field you’re teaching about can be very helpful to make your course more trustworthy.
- Ask yourself how deep you’ll go into a topic. If you’re not willing to go very deep, then it’s best to brand it as a beginner’s course. However, if you intend to go deeper into the topic, then it can also be an advanced course.
Step 2: Define Your Target Audience
Once you’ve got your course topic all set, make sure you research and identify the target audience of the course. It’s time to do some research. You may even swap these two steps around and do the target audience first.
If you know who the course is for, you’ll be able to structure it easily, and you’ll also be able to market it to the right audience later on. Your course will be much more successful if it caters to a specific demographic rather than a wide variety of people.
But how do you find that out, you might ask? Well, here are some useful questions you can ask yourself that will help you find your target audience easily.
- How old is your ideal customer? One of the most important determining factors of how you will structure the course is the age of your target audience. This will affect the style of the content, the pace, and the teaching style of how you present the content.
- What is the skill level of your customers? Are you targeting beginners, or are you creating a course for intermediate or advanced learners?
- Is your target learner already employed or not? If they are already employed, then the course will be based more on how to use the course to improve their working efficiency. If they are unemployed, the course will ideally help them find their next job.
These are all crucial aspects of identifying your target audience. Other factors include gender (technical courses can be male-heavy, for example), income level, place of residence, and other minor factors. There are plenty of tools out there that help you structure your target market research. HubSpot has a great persona creator that let’s you create a PDF sheet that summarizes your ideal customer.

Now you know what to look for, you’ll need to do actual research of your potential customers. This is normally the hard part, but it doesn’t necessarily have to be too hard.
Researching Your Target Audience
Here are some great ways to research your target audience.
Use Social Media
The number one thing you should be doing is researching social media platforms – particularly Facebook, where you can get almost all of the information about your perfect customer.
I suggest that you utilize Facebook groups and put them to your advantage. The first step is to find a group where your potential clients hang out. For example, if you plan to create a course on “Home Brewing”, then you NEED to enter groups like these on Facebook:
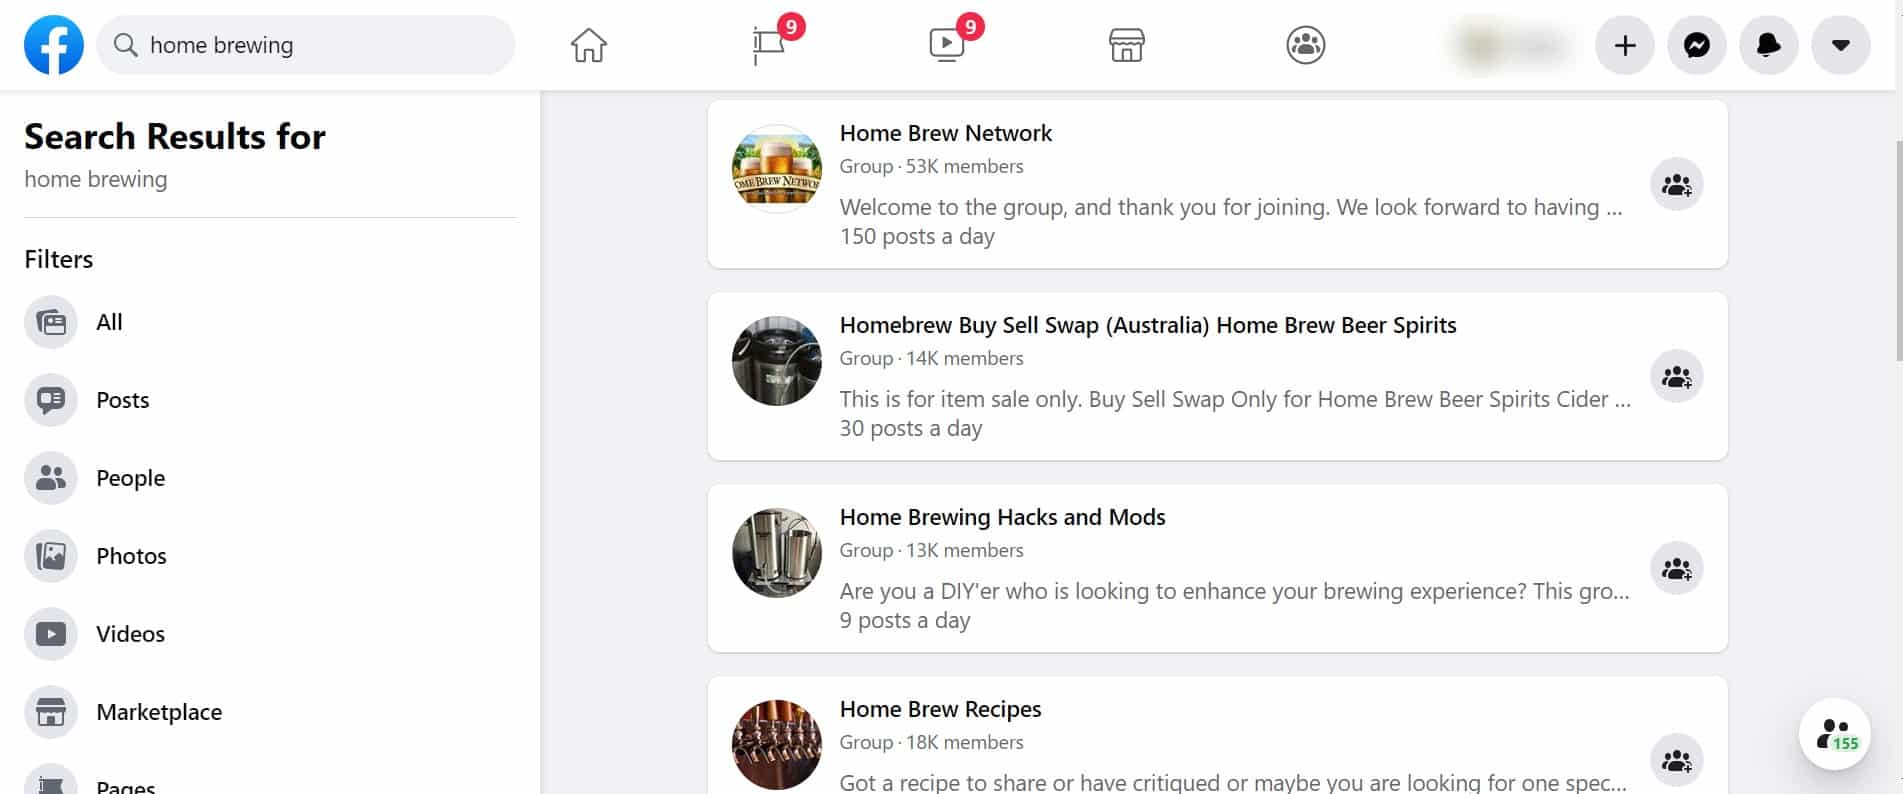
I know it might not be the best example for you… But, imagine the possibilities of researching groups like those!
You can find the average age of the participants, the problems these people face, the things they ask (so that you can address them in your course), and much more!
Another great site to use is Reddit. If you’re into digital marketing at least a bit, then you must have already heard that Reddit is an absolute goldmine for finding information.
Again, you can see the most frequently asked questions here, and what are some main issues/concerns that your target audience faces. And you can easily address those in your course!

Other sites to use include Quora, Twitter, LinkedIn, or even Instagram.
Ask Questions and Conduct Interviews or Surveys
Once you’re in that group, try asking some questions you’re curious about and see the answers you get. And then, once you do get some answers, invite some people for a 1-on-1 interview to get even more answers.
Alternatively, you can ask people in the group to answer a survey of yours – you can include their age, and gender, and ask for their information.
Or you can set up an online survey for your course that will help you get some things straight.
Connect with Experts Locally
How about you try to find some experts about the topic of your course in your local area and try to pick their brains about it?
It sounds like a great idea. But the problem might arise when there are no such people available around.
However, drawing from such sources can be extremely valuable. Ask them some questions and jot down the answers they give – it can give you some answers on your target audience.
Step 3: Put Your Knowledge Together
Once you have researched your target audience, it’s time to start putting your course together. This process can take some time.
You’ll need to have some knowledge about the topic, which should be enough to cover the beginners in your course. However, you must know that not all learners are the same. Some will learn faster than others, and some might need a deeper explanation of the topic.
That’s why you need to know your stuff thoroughly so that everyone’s on board with what you’re saying.
I like to use a braidstorming tool like Mindmup to lay out my initial research and ideas. However, you can do it using post-it notes or a notebook and pen.

Do Your Research
Yes, you should have some knowledge to start with, but you will do well to make additional research.
Take a look at other courses that are similar to yours and see what they’re doing, and what they are not doing. You need to create something that’s better than the stuff your competitors are doing. You can do that by checking Udemy courses in your niche.
Read up on the topic in more detail, and brush up on your skills – especially if it’s something you haven’t done in a while.
Create a Rough Outline
Now it’s time to create a rough outline of how your course will look like. You’ll need to break it down in sections and smaller lessons.
Usually, shorter pieces work better; however, many course providers also decide to have longer lessons in their course, especially if it’s a deep dive into a topic.
Record Videos/Write Content
You may have already done this, but you should have most of your course ready to go by now, and ready to be uploaded – before you pick where you’ll sell your course for free.
This will take some time, but don’t rush it. Take your time to create engaging and high-quality video content here.
Make Sure Your Content is Easy to Follow
One of the things I want to make sure every time I create a course is that the content is clear and concise.
If your course is based on videos, make sure you explain the concepts within your course as concisely and as clearly as possible.
Add other resources whenever possible, such as PDFs, assessments, quizzes, and other smaller parts of content that will make the course a bit lighter on the student.

If you want to know more about this, I suggest you read our topic on creating an effective online course that uses our special ladder method of course creation.
Step 4: Choose Your Platform for Creating Your Course for Free
Now, onto the juicy stuff – the stuff you probably came here for. Where can you create a course for free, you might be asking at this point?
Well, there are really two main choices here. You can either:
A) Use a course marketplace like Udemy and sell your course there
B) Host your own course using a free plan for a paid tool
There are benefits to each one of these two ways, and it really depends on what you’re looking for. Ultimately, you’ll have to decide on your own. Both can be free, and let’s go into some more detail to help you make the right decision for you here.
Option A: Use a Course Marketplace
Most of the course marketplaces will allow almost anyone to try and sell their own course on their platform. However, some marketplaces have more strict requirements as to who can teach on their site.
Let’s go over some of the most popular options in this category.
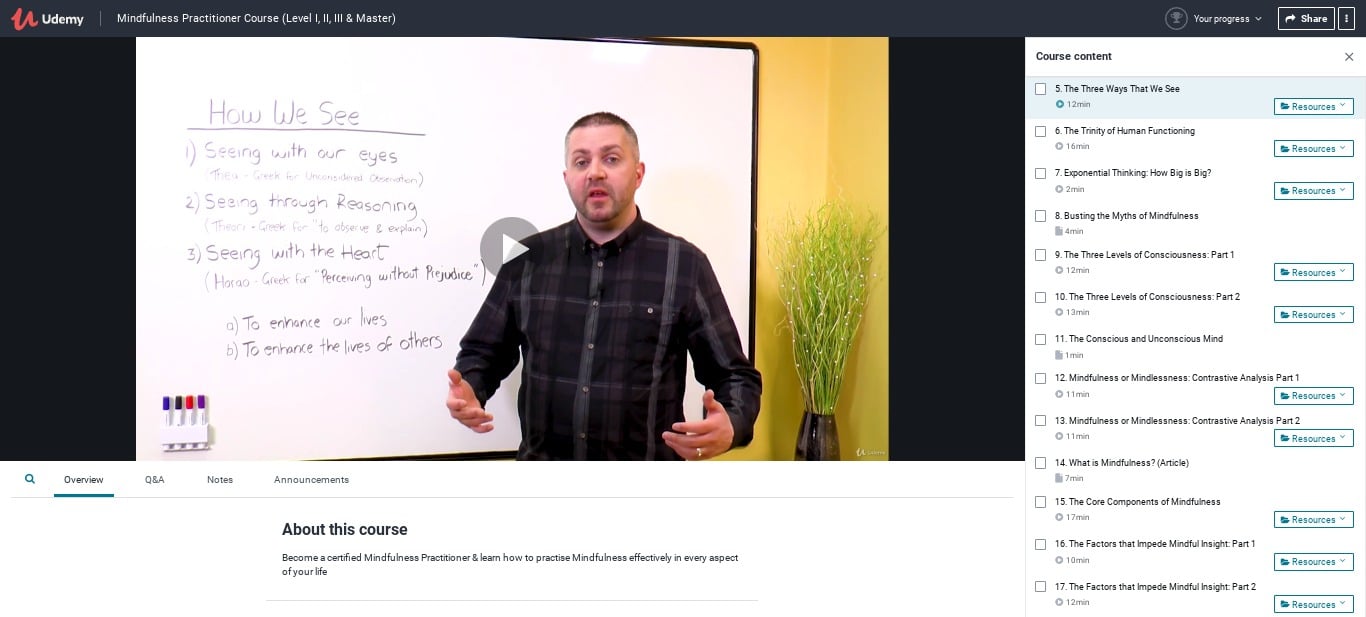
Udemy

Udemy is by far the most popular choice for course sellers and teachers. Why?
Because it has a very low entry point as to who can sell courses on the platform
It has more than 50 million learners from all over the world
There’s a massive earning potential on the site
It’s great for creating smaller courses that don’t take much time to create
So, how do you get started with Udemy if you want to sell your course?
First, you’ll need to click on the “Teach on Udemy” button on the landing page. Then, simply fill out some information about you and your course, and build your course. It’s as simple as that.
Skillshare

It gets a bit tougher with Skillshare if you want to sell your course there. It’s also a marketplace, but the requirements for teachers are a bit stricter than on Udemy – if you want to learn more, read our full comparison between Udemy and Skillshare.
You might not get accepted by Skillshare if you try to sell your course – they will do some evaluation on your skills beforehand. But, it’s completely free to use and it’s absolutely worth a try.
Simply go to the Skillshare website, and click on “Teach” at the top of the page, and complete the steps. It’s easy enough to follow from there.
Other notable marketplaces to try: OpenSesame, Udacity.
Option B: Use a Free Plan on a Paid Course Creation Tool
Personally, this second option is my favorite. It’s a whole lot easier to scale up if your initial courses are a success and you want to make good money (compared to marketplaces which take a decent cut of your earnings).
Using a course creation tool is great if you want to create a complete experience for your students. The benefits of using a course creation tool over a marketplace include:
- You can create your own storefront
- There’s more customizability to it
- There are better marketing options
And while most course creation tools are paid and require subscriptions, there are some great platforms that also have a free plan that you can take advantage of.
The most notable one is Thinkific – it is completely free with the free plan, although there are some limitations to this plan. But we here at EduTestLabs believe that Thinkific is probably the best course creator for beginners because of its easy-to-use platform.
You can read our Thinkific vs Teachable article if you want to know more about the tool.
There are not many other course creation platforms that have a free plan. The closest you come to it are free trials that some platforms offer, such as LearnWorlds (30-day free trial – we think it’s one of the best course creators around, but comes at a price after the trial) and Podia.
But again, these are not completely free as they only have a limited free trial. Only Thinkific has a completely free plan.
If you want to know how Thinkific compares to LearnWorlds, read our comprehensive comparison article.
How to Use Thinkific?
So, Thinkific is one of the rare course creation platforms that offer you a free plan.

To create your course for free on Thinkific, simply sign up for the free plan and get started. If your course grows later on and you want to add new courses and have additional features, you can get one of the more advanced paid plans on Thinkific (which we believe have plenty to offer).
The free plan offers you the following features:
- 3 Courses
- Unlimited students
- Quizzes and surveys
- Content hosting
- Instant access to funds
And that’s a lot for a free course creator already! But if you want access to additional features, you’ll need to eventually consider a paid plan. Such features include:
- Unlimited courses
- Email students
- Zapier triggers
- Integrations
- Marketing tools
- Certificates
- Priority support
Final Thoughts
So, these are the options you can take if you want to create an online course for free. Which one will you go for?