Most people don’t realize this, but the glitter industry is massive. That’s because we use the tiny sparkling specks in various products.
For example, we use glitter to make, nail polish, body paint, makeup, accessories, and clothes. Because of that, the industry generates millions in profits every year.
Thankfully, with the right skills, you can carve out a piece of that pie. So, if you’re interested in finding out how to make glitter to sell, then you’ve come to the right place.
In this article, we’ll walk you through everything you’ll need to know about the industry. We’ll also cover the steps you’ll need to follow.
- Why You Should Consider Making Glitter to Sell
- Problems With Making Glitter to Sell
- What You’ll Need to Make Glitter to Sell
- Where to Make Glitter to Sell
- How to Make Glitter to Sell: Step-By-Step Instructions
- Things to Consider When Making Glitter to Sell
- Frequently Asked Questions
- Similar Tutorials to Check Out
- Wrapping Up
Why You Should Consider Making Glitter to Sell
Producing glitter can be an incredibly tedious process. Because of that, you may wonder, why not just sell ready-made sparkles?
There are quite a few benefits of homemade glitter.
1. Helps You Stay Ahead of Trends
The glitter industry is one of the fastest-growing businesses in the world. Because of that, styles and trends are constantly changing.
So sourcing your glitter from a vendor may mean that you get last year’s best-sellers. That will make moving your products a little challenging.
For that reason, making your own glitter can be a game-changer. You’ll get to stay on top of any trends in the market with minimal effort.

2. Reduces Resource Waste
Buying glitter in bulk sounds much simpler than it is. It’s not as easy as picking out a color and ordering a bunch.
You have to find a vendor and buy test samples. Then, after trying the glitter for a while, you can begin to offer it to clients.
This is to ensure that the quality of the products you’re selling is impeccable.
This process can take a lot of time and effort, especially if you need to try out multiple vendors. Luckily, making your own glitter will resolve this issue.
3. Allows You to Choose Your Materials
There are many types of glitter on the market. Some of them are exceptionally fine, while others are chunky glitter.
Each one will produce a different effect while reflecting light. When buying glitter from a vendor, your choice of material will be a bit limited.
4. Create custom mixes and colors
Standing out in the glittering industry can be a tough challenge. That’s because there’s plenty of other competition on the market.
The easiest way to shine is to create custom blends. These mix a few types of glitter together to produce a unique product.
This way, clients will come to you from all over the country just to buy your special glitter mix.
Problems With Making Glitter to Sell
Starting a craft business is never easy. Even though making glitter has its benefits, there are also a few drawbacks. In this section, we’ll discuss the problems with creating your own glitter.
1. Storage Issues
One of the worst parts of dealing with loose glitter is it’s tough to contain. The tiny sparkles get into all crevices and they’re difficult to clean out.
Because of that, finding proper containers for your glitter may be a challenge. Other than that, figuring out how to package the product can also be a pain.
2. Causes Irritation
If you’ve never worked with glitter before, you may not know that it carries some health risks. For starters, the tiny particles can cause skin irritation.
With enough exposure, you’ll notice rashes all over your hands and arms. Besides that, if you inhale glitter, it can wreak havoc on the lungs.
That’s why it’s important that you wear protective gear, like gloves and masks.
3. Complicated Requirements
Most people think they can start making glitter almost anywhere. While that may be true, it’s not always the best idea.
If you want to use your glitter in cosmetics or other products, then it needs to meet certain standards.
Because of that, when making glitter, you have to be mindful of your environment. You should ensure that the area around you is completely clean.
4. Repetitive and Tedious
Making glitter on your own can be a lot of fun in the beginning. It’s exciting seeing all the shiny colors come together.
Although, after a while, you may find the process a bit tedious. There’s a lot of repetition, which can be a deterrent to many people.

What You’ll Need to Make Glitter to Sell
Now that you understand the benefits and drawbacks of making glitter, we can move on to the process. In this section, we’ll talk about the materials you’ll need.
- Sea salt: This will act as a base for your glitter. The graininess of the salt will determine the texture of the glitter. You can also use sugar or Epsom salt as replacements.
- Food coloring: Water-based colors will work best here, but you can use gel products as well. You can be as creative as you want with the shades, even mixing a few together. As an alternative, you can use acrylic paint. You’ll use less pigment, but the glitter won’t be non-toxic.
- Mortar and pestle: You can use them to grind down the salt to achieve your preferred texture.
- Baking dish: This will make drying your glitter a piece of cake.
- Oven: The main source of heat to remove excess water from the glitter. You can also use a dehydrator as a replacement.
- Plastic tarp: Provides an easy-to-clean surface.
- Safety gear: Gloves and masks to help protect your hands and lungs.
Where to Make Glitter to Sell
Before you start making glitter, there’s an important factor you should consider. It’s crucial that you figure out where to sell your products before you stock up your shelves.
So, in this section, we’ll take a look at some businesses that can help you sell your glitter.
1. Ecwid
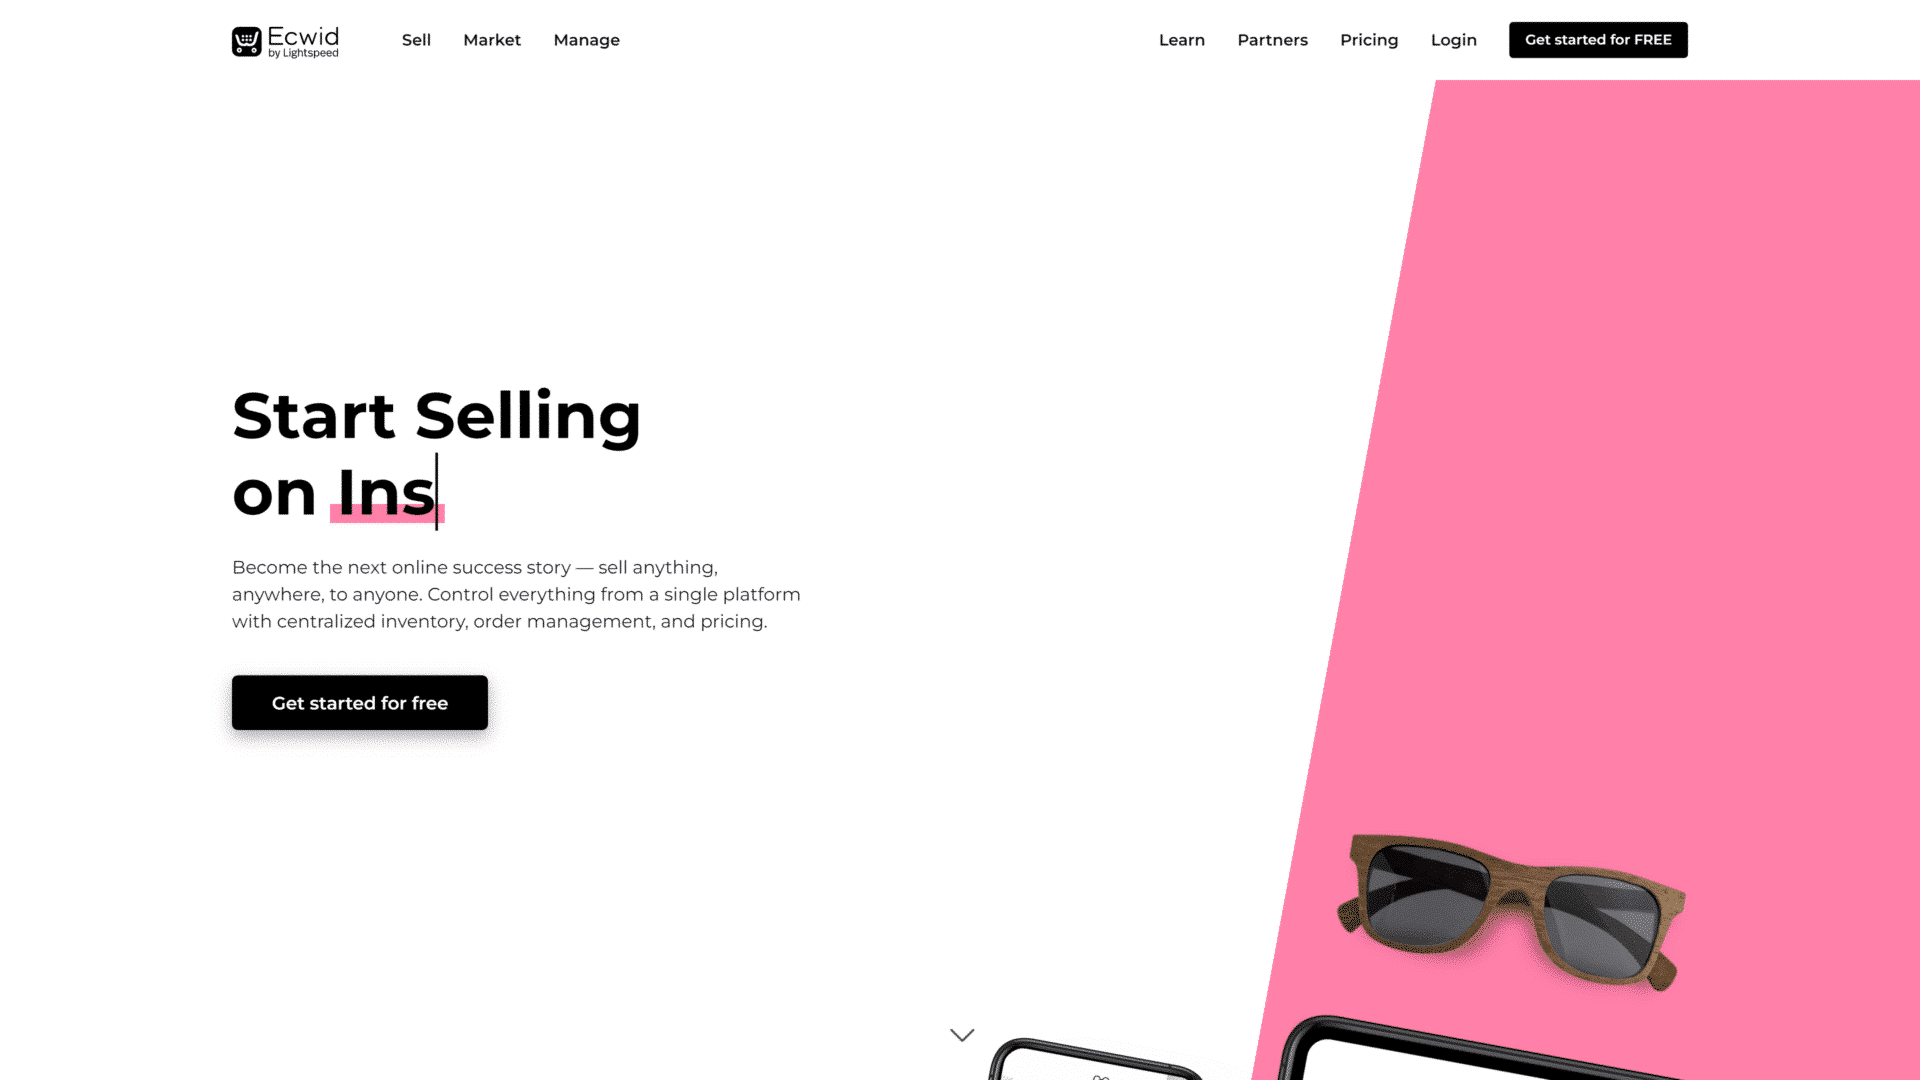
Ecwid is a service that helps people with selling art online. Using the digital store, you’ll be able to market any product, including glitter.
The best part about this service is that you don’t need any previous experience. All you have to do is sign up and fill in a few forms.
After that, you’ll be able to set up your online store in a flash.
- Fees/Commission: To launch a store on Ecwid, you have to sign up for one of its monthly plans. The most affordable one is free, while the most expensive one is about $100 a month.
- Payment Methods: Ecwid uses Lightspeed as its main payment solution. This is an integrated app that allows customers to pay in various ways. That includes Google Pay, Apple Pay, and debit cards.
2. Shopify

Shopify is one of the world’s most popular e-commerce websites. So, the platform should be able to connect you to thousands of potential customers.
Not only that, but Shopify also offers a free trial. This means you’ll get to test out the service before you make a commitment.
- Fees/Commission: A basic Shopify plan will run you about $33. Plus, the store doesn’t charge transaction fees if you use Shopify Payment. With a third-party service, the fee can reach a maximum of 2% of the sales.
- Payment Methods: Shopify supports a few types of payment methods. These include PayPal, Amazon Pay, and Apple Pay, among others.
3. Etsy

Etsy is another e-commerce service that caters to a wide array of industries. It allows you to set up a store in a few minutes and sell whatever products you like.
Because of its simple operation, it’s a great place to launch a business. You’ll have access to many guides that can make the process a breeze.
This makes it ideal for new small businesses.
- Fees/Commission: To list a product on Etsy, you have to pay a flat fee of about $0.2. Then, the platform charges a 6.5% fee on every transaction.
- Payment Methods: Etsy can accept payment from a variety of sources. These include PayPal, Apple Pay, and Google Pay, to list a few.
How to Make Glitter to Sell: Step-By-Step Instructions
With the basics out of the way, you’re ready to make your own glitter. In this section, we’ll walk you through the different steps you’ll need to follow to create tiny sparkles.
Step 1: Prepare Your Materials

As we mentioned, glitter has a habit of spreading all over your space. So, you’ll need to prepare an area for glitter production.
Start off by clearing out your workspace. Ensure that there are no fragile items around you.
After that, lay out the plastic tarp on a flat surface. This will allow you to collect any glitter that flies off during the process.
Not only will this make cleaning a breeze, but it’ll also ensure you get to sell every last speck of glitter.
Once that’s done, set out the rest of the materials on the tarp.
Step 2: Preheat Your Oven

You’ll need an oven to dehydrate the glitter after you’re done making it. Yet, remember that the device will need a good while to reach the desired temperature.
For that reason, before you get your hands dirty, it’s crucial that you preheat the oven. Set the device to about 375℉ and give it at least 15 minutes to warm up.
Step 3: Prepare Your Salt

With the oven ticking away, you’re ready to move on to the next step. Here, you’ll prep the salt so you can use it later on.
The salt crystals will act as the base of the glitter. This means the coarseness of the salt will determine the texture of your product.
As a general rule, the finer the salt, the smaller the glitter specks you’ll create.
Grab your mortar and pestle, drop a little salt in the middle, and start grinding. Sadly, this is going to require a bit of elbow grease.
As an alternative, you can use a coffee grinder for this step. Keep grinding the salt until you find a texture that feels right to you.
Step 4: Color the Salt

At this point, the salt is ready for beautification. It’s time to add food coloring to your mixture.
Water-based food coloring works best here. That’s because it has a thin consistency that’ll allow it to flow over the salt easily.
Start by adding a few drops of coloring to the mortar and pestle. Then, grind the salt to disperse the shade.
This is the part where you can be as creative as you like. You may add one or more shades to make your glitter.
It’s even possible to mix colors together to create a custom blend.
Step 5: Bake Your Glitter

Adding the food coloring to the salt will increase its moisture content. This will make it a bit sticky and clumpy.
To get rid of this issue, it’s time to turn the heat up. So, grab your baking dish and dump the colored salt on top.
Next, try to spread it out as evenly as possible. After that, turn the oven down to about 350℉ and slide the baking dish inside.
Wait for around 10 minutes for the salt to dry out.
Step 6: Package the Glitter

Once the glitter comes out of the oven, you have to wait for it to cool down. It’s best to wait overnight, but a few hours will do the trick.
Now, you’re ready for packaging. Using a spoon, you can scoop out the glitter and place it in containers.
Things to Consider When Making Glitter to Sell
Before you start your business, you should be aware of the basics of selling a product. Because of that, there are a couple of factors you should consider.
Check if the Glitter Industry Is the Right Fit for You
The glitter industry is incredibly competitive. There are hundreds of small businesses fighting for a share of the market.
So, growing your company won’t be a cakewalk. For that reason, you must ensure that the glitter market is for you.
If you don’t have a passion for the sparkles, it’ll be tough to stay motivated.
Pricing Your Products
It’s also important to figure out how you’ll charge customers for your products. To do that, it’s a good idea to check competitor pricing.
This should help you find out how much you can ask for. Plus, you should take your costs into account when setting a price for your glitter.
Frequently Asked Questions
Can You Make Money Selling Glitter?
Yes, but it can take quite a while. To turn a profit with a glitter business, you need a solid client base.
What Is the Main Ingredient in Glitter?
There are a few different ways to make glitter. Yet, the most common base is salt. That’s because the material is non-toxic and easy to work with.
Similar Tutorials to Check Out
If you’re undecided about glitter, check out these other similar business ideas.
- How to Sell Art Online: Rather than glitter, you can sell all sorts of artistic creations.
- How to Make Stickers to Sell: Stickers are an excellent way to dip your toes into a crafting business.
- How to Make Car Air Fresheners to Sell: Fresheners are easier to make than you think, and there’s a huge demand for them.
Wrapping Up
If you’re wondering how to make glitter to sell, all you need is a little salt and food coloring. This will allow you to create custom blends that appeal to a wide range of clients.
Although the process can be a bit repetitive and tedious.
Did you find our guide on how to make glitter to sell helpful? Let us know in the comments and don’t forget to share the article.